
Qwen 2.1 Prompt Guide: 7 Templates for Better Images
A practical Qwen 2.1 prompt guide with seven copyable examples for product photos, portraits, posters, transparent assets, and reference edits.
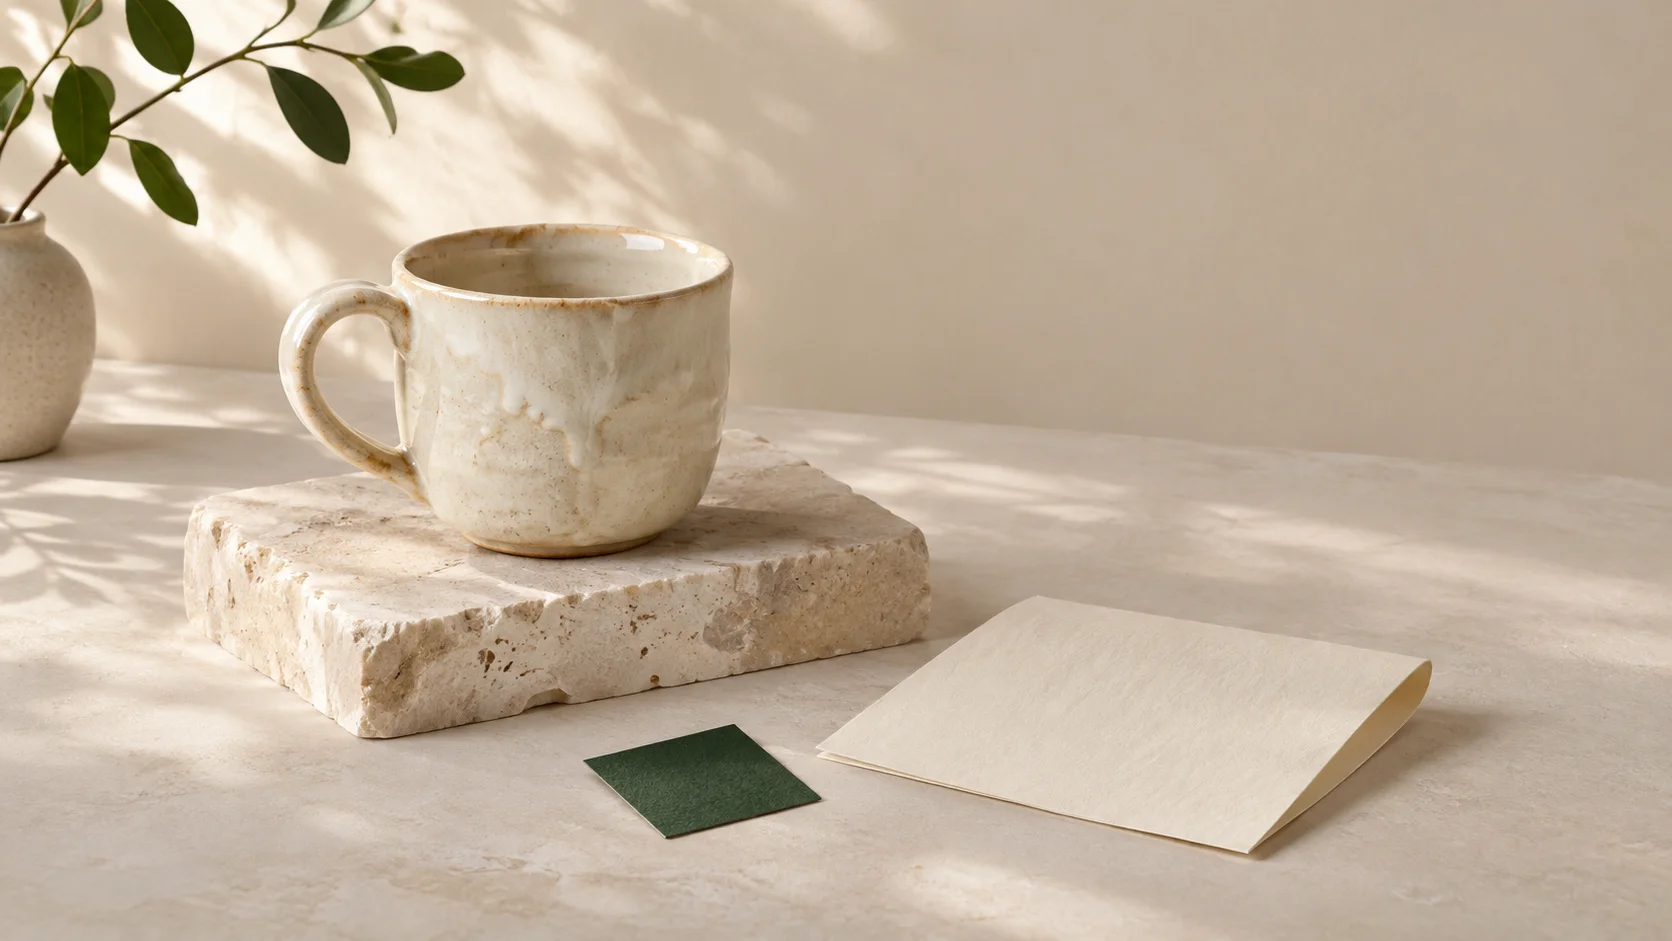
Searching for a qwen 2.1 prompt guide usually means you have an image in mind but cannot get the important details into the result. A useful starting point is to describe a visible scene, then separate the creative decisions from the output settings. For an edit, start with the change and identify the image that supplies the subject.
This guide targets Qwen-Image-2.1, the image model, rather than a Qwen text-chat model. The examples below are original starting briefs, not measured model outputs. The cover and background-edit picture are AI-generated editorial illustrations; the prompt map is a diagram.
Start with the right task
Qwen-Image-2.1 supports text-to-image creation and instruction-based editing. Its release also includes transparent-image workflows. Check which of those features your application actually exposes before writing a prompt around them. Qwen's release announcement describes the model capabilities.
Use a scene description when you want a new picture. Use an edit instruction when an uploaded image already establishes the subject or composition. Adding a reference to a new-scene prompt does not, on its own, explain whether the reference should define the person, the palette, or the background.
A reusable Qwen 2.1 prompt structure
Use this six-part checklist to organize your own brief:
- Subject: the main person or object, including the count and action.
- Setting: the environment and the surface supporting the subject.
- Composition: viewpoint, framing, placement, and empty space.
- Light: source, direction, softness, and shadow behavior.
- Material: the textures and finishes that need to be visible.
- Constraints: exact copy, excluded objects, or details that must remain.
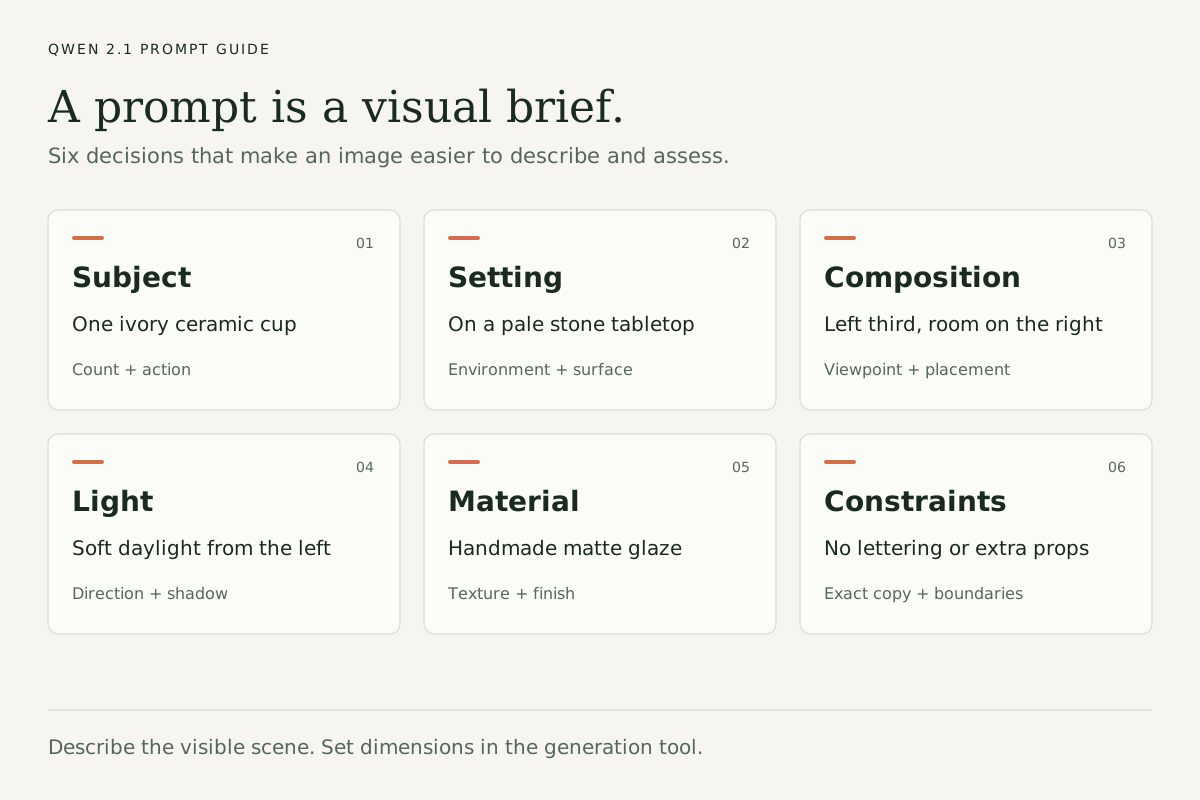
A writing checklist, not a required model syntax. Keep only the decisions that affect your picture.
A short prompt can be enough for a simple subject. Add detail when it resolves an open decision, not to reach a word count. A room with several objects needs more spatial direction than a single cup on a plain table.
The official text-to-image rewriter expands briefs into descriptions of the finished image and returns the canvas ratio separately. That is a useful distinction for manual writing too: describe the scene in the prompt, and set the dimensions in your tool. See the official text-to-image rewriting instructions.
Seven prompts you can adapt
The examples use everyday subjects so you can judge the requested changes. Replace the subject and destination with your own requirements. Set the output ratio in your generation interface rather than relying on a pixel-size phrase in the prose.
1. A product photograph with room for a headline
An editorial photograph of one ivory ceramic cup on a pale limestone tabletop. The cup sits in the left third of the frame, with its handle visible. The right half is a quiet, uncluttered wall suitable for a headline added later. Soft window light enters from the upper left, revealing the uneven handmade glaze and a gentle contact shadow. Warm neutral colors, slightly elevated camera angle, no lettering or extra props.
Why this is useful: the brief assigns the subject a location and reserves space for its intended use. Choose a landscape frame for a banner; a square crop may need a different placement.
2. A portrait with one coherent light source
A waist-up editorial portrait of an adult potter standing in a small ceramics studio. They wear a charcoal linen apron and hold one unfinished bowl at chest height. Shelves of unfired clay vessels sit softly out of focus behind them. A large window on the right supplies soft daylight, with natural skin texture and gentle shadows. Eye-level camera, relaxed expression, restrained earthy colors.
What to inspect: hands, the bowl's rim, and whether the background competes with the face. If a specific real person's identity matters, use an appropriate reference workflow rather than adding more facial adjectives.
3. A poster with exact, limited copy
A minimalist exhibition poster on warm ivory paper. A single dark green abstract ceramic sculpture occupies the lower half. Across the top, a large dark green serif headline reads "FORM & LIGHT". Directly beneath it, a smaller line reads "CERAMICS EXHIBITION". Wide margins, clear type hierarchy, softly lit paper texture, no other readable words.
What to inspect: every character and the gap between the two lines. For a real event, add dates and venue information in your layout editor after the image is approved. Small critical copy is easier to verify there.
4. A bilingual layout with a deliberate reading order
A square tea-shop menu cover with a pale cream background and a small watercolor drawing of a green tea cup near the bottom. At the top center, a large dark green Chinese heading reads "春日茶单". A smaller English subtitle beneath it reads "SPRING TEA MENU". The two headings share a center line and have generous space between them. No prices, ingredients, logos, or additional text.
What to inspect: the requested languages, character order, and relative size of the subtitle. Specify bilingual copy explicitly; the language of your instructions does not fully describe the lettering you want in the image.
5. An isolated asset for a transparent-image workflow
One small handmade ivory ceramic cup, fully visible from a three-quarter angle, isolated on a transparent background. The handle and base are complete, with a clean continuous silhouette. Soft neutral lighting reveals the matte glaze. No tabletop, surrounding scene, lettering, border, or decorative objects.
Before using it: select a workflow that actually outputs alpha. A picture of a checkerboard is not a transparent file. Place the exported PNG over both a dark and a light background to inspect its edges.
6. A focused background edit
Change only the background wall in the uploaded image to a muted forest-green studio wall. Keep the cup, tabletop, framing, and existing light direction unchanged. Match the new wall to the image's photographic style. Do not introduce text or props.
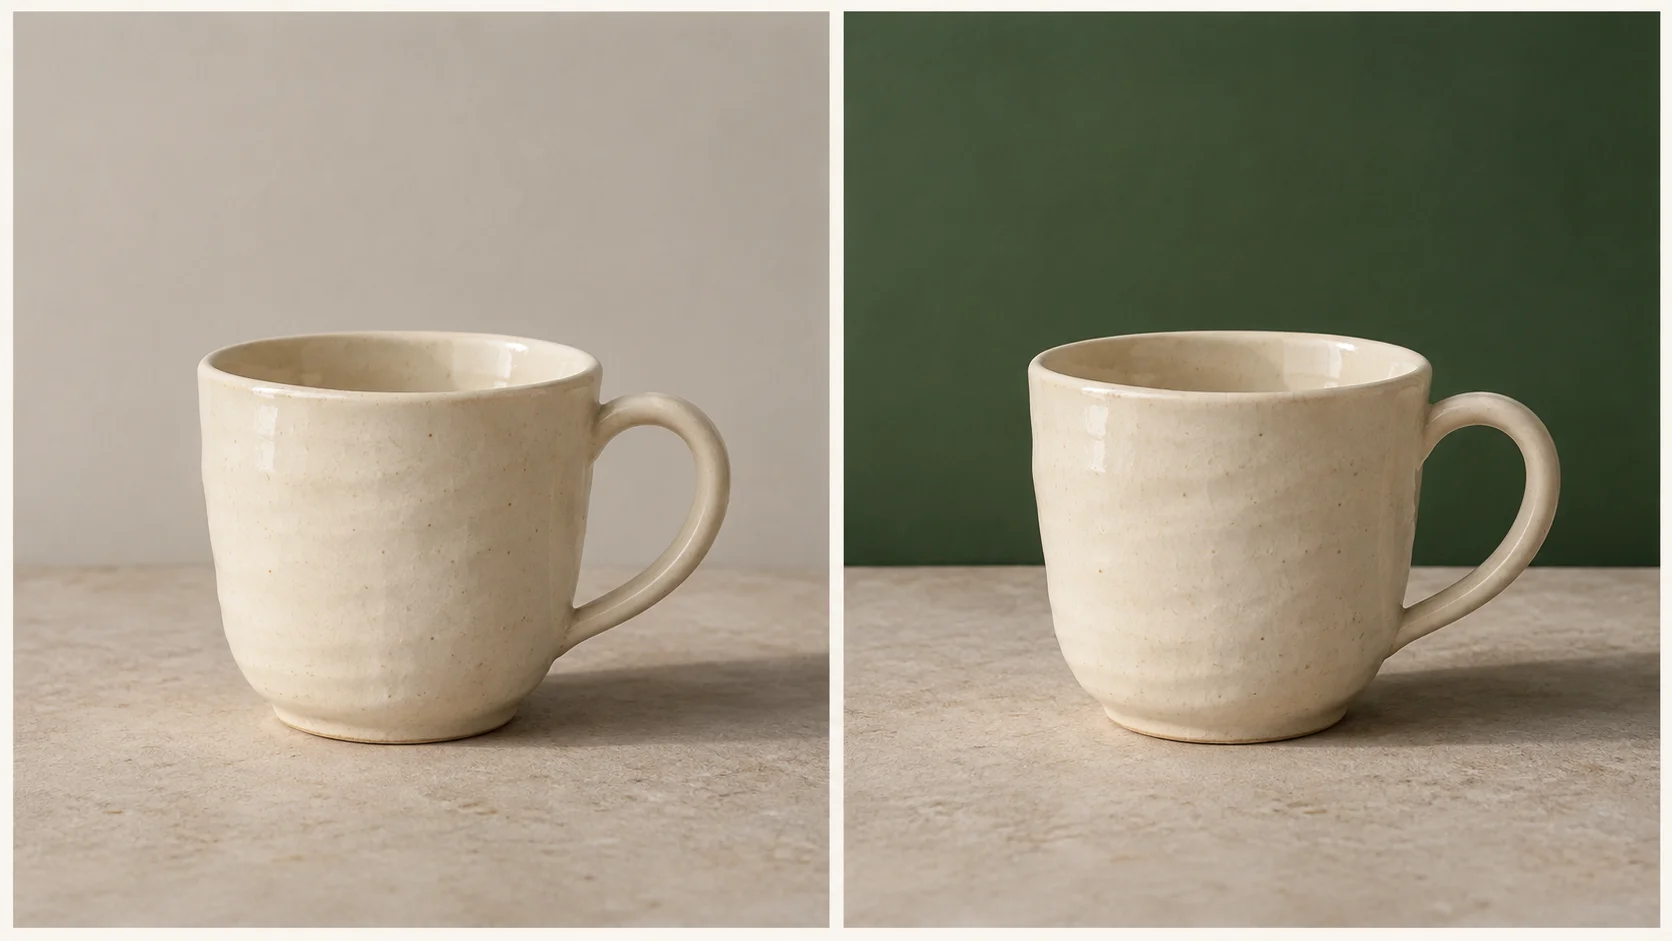
Editorial illustration of the intended edit boundary. These panels are not a Qwen 2.1 before-and-after test.
The official edit rewriter recommends limiting the operation and referring to preserved content without redescribing its appearance in detail. This helps distinguish the requested change from the image's existing decisions. Official editing instructions.
7. A composition using two references
Use the cup from <image1> as the product subject. Place it on the tabletop in <image2>, using <image2> as the canvas and lighting reference. Keep the product's design from <image1> and the composition of <image2>. Adjust the contact shadow to match its placement. Add no other objects or text.
The angle-bracket image tags refer to the ordered inputs in the official rewriting workflow. Other interfaces may expose reference slots differently. Keep the upload order fixed and check the naming convention for your tool. A reference limit in a hosted interface is an implementation limit, not a universal property of every Qwen 2.1 workflow.
Improve a result without changing everything
Keep a short record of the prompt, model version, dimensions, reference order, and seed if the tool exposes one. Then identify the most consequential mismatch before generating again.
| Problem | A more focused next attempt |
|---|---|
| The subject is too small | Ask for a closer view and remove unnecessary background objects. |
| The scene feels cluttered | Specify the number of objects and simplify the setting. |
| Text is wrong | Shorten the copy, separate the lines, and describe the reading order. |
| The edit changes the product | Narrow the operation and refer back to the source product. |
| The lighting is inconsistent | Choose one main light source and describe the shadow direction. |
| The transparent asset has a solid background | Check the workflow’s alpha support and exported file, then inspect it on another background. |
Keep the seed fixed when available, but do not treat it as a promise of identical images across different checkpoints, tools, or hardware. Compare one change at a time. If several instructions conflict, choose the one that matters to the image's destination.
FAQ
Should I write Qwen 2.1 prompts in English or Chinese?
Use the language in which you can describe the scene precisely. Keep the exact lettering you want in the image separate and quote it in its intended language. Automated rewriting can have its own language rules, so inspect the rewritten prompt when the interface exposes it.
Do I need a long negative prompt?
Start with a clear positive description and a few exclusions that matter to the brief. A generic list of unwanted defects does not resolve a vague composition. Availability and behavior of a separate negative-prompt field depend on the pipeline.
Will more sampling steps fix a weak prompt?
Sampling settings and writing solve different problems. First correct contradictions, unclear counts, and missing spatial relationships. Use the defaults recommended for the exact checkpoint; the separate Qwen-Image-2.1-Turbo guide explains why Turbo has its own sampling setup.
Where can I try these ideas?
Use a deployment that explicitly selects Qwen-Image-2.1 when you want to evaluate that model. You can also adapt the briefs in our online image generator, which currently uses Qwen Image 3. Results there should not be described as a Qwen 2.1 test.
For the next attempt, choose one template, replace the subject, and decide what a successful image must visibly contain. That gives you something specific to assess when the result arrives.